Baked Cabbage

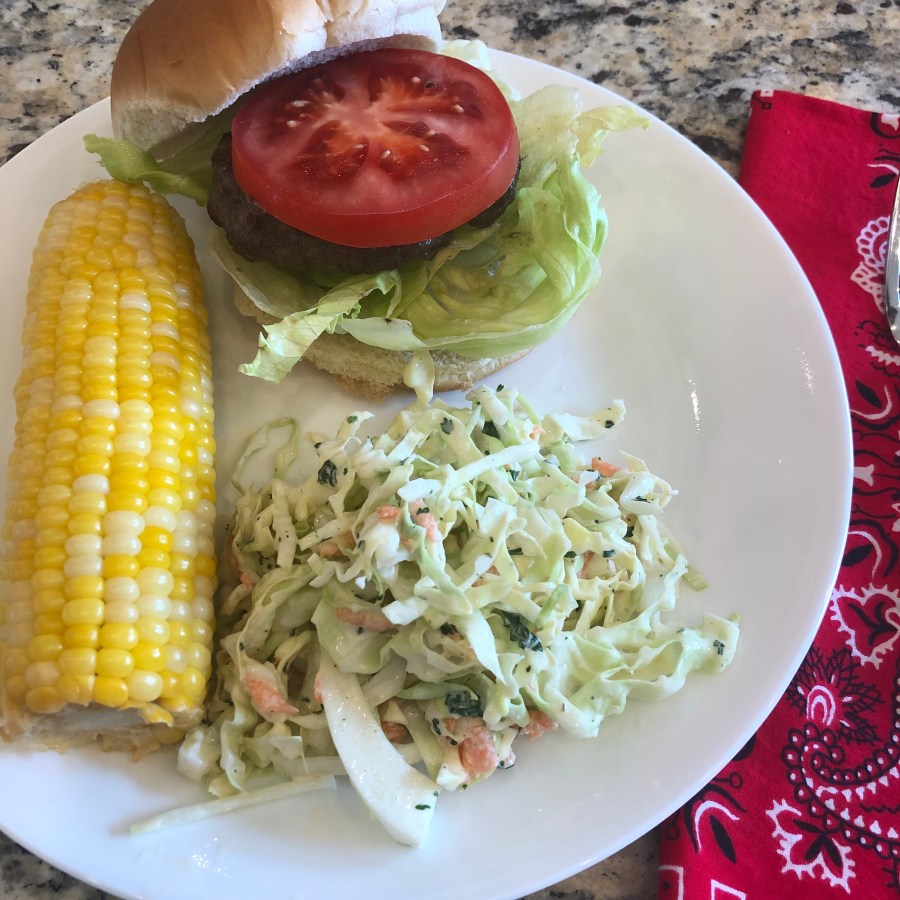
We love cabbage! It is healthy, full of fiber and nutrients, and delicious. Baked Cabbage is one of our favorite cabbage sides. This recipe is really easy, and with a little bacon added, it is super delicious! For vegan or vegetarian, skip the bacon and use vegetable stock with vegan butter. It bakes in the oven while you make the main course.

There are just a few ingredients, most of which are probably in your kitchen right now.

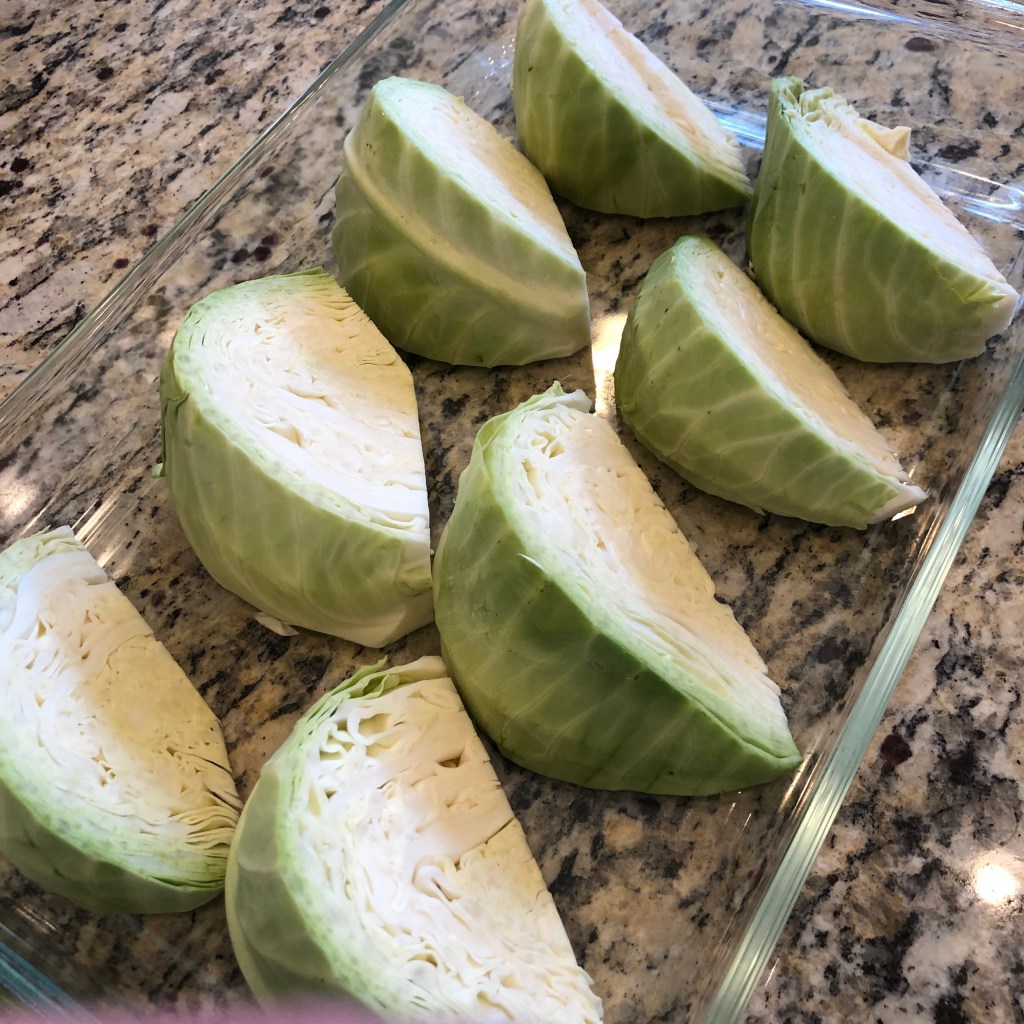
Once you have the ingredients together, cut the cabbage into wedges, remove the core, and place in a baking dish.

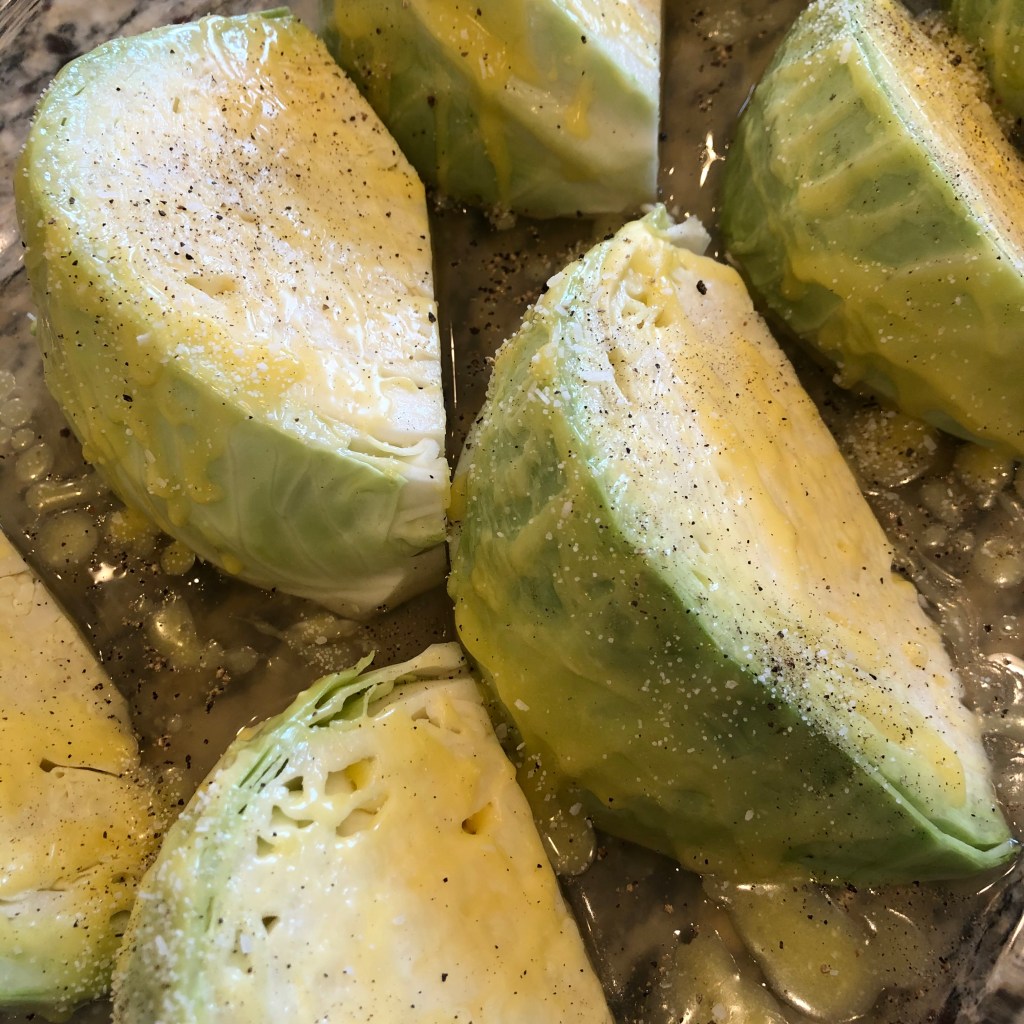
Then, pour the chicken stock over the wedges. Brush the butter on the cabbage and season with salt and pepper.

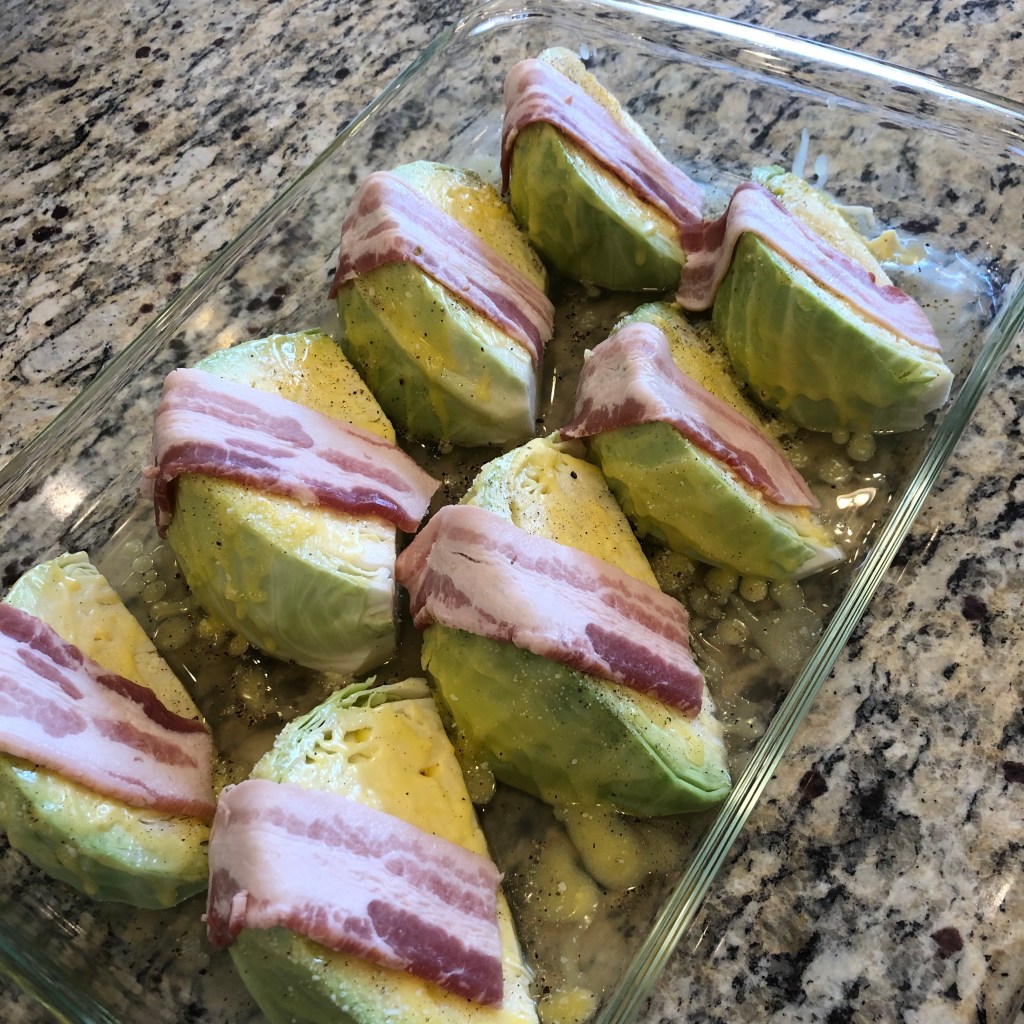
Top each wedge with 1/2 slice of bacon. If you are vegan or vegetarian, you can use vegetable stock and skip the bacon.

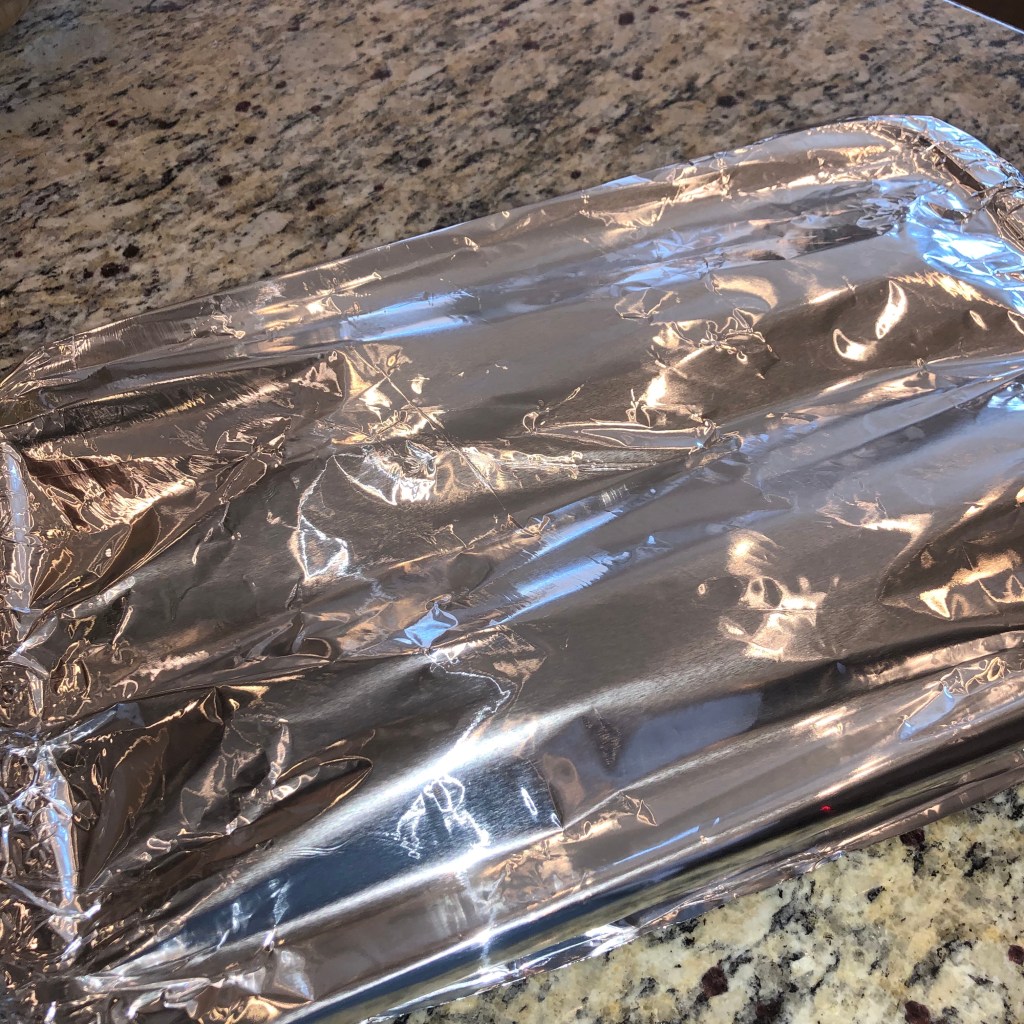
Cover tightly with foil. Bake covered for 30 minutes, then remove foil and bake about 30 minutes more, until the bacon is crisp. Check after 20 minutes to make sure the wedges are not burning.

When they come out of the oven, add just a sprinkle of salt. This is one delicious side! The cabbage is perfectly cooked and a little smoky from the bacon. I reheat leftovers in the microwave.

Baked Cabbage

  • 1 head green cabbage, cut into 8 wedges, core removed from wedges
  • 4 slices uncooked bacon, cut in half
  • Salt and pepper
  • ¼ cup butter, melted and browned
  • ½ cup chicken stock
1. Preheat the oven to 450 degrees. Cut the cabbage head in half. Cut each half again, making four wedges. Cut each of the 4 wedges to make a total of 8 wedges. Cut the core from each wedge on an angle. 
2. Place the wedges in a roasting pan. Pour the chicken stock over them. 
3. Using a small saucepan over low heat, melt 1/4 cup of butter. Cook and stir until the butter turns brown (being careful not to over cook, it will burn quickly). Drizzle or brush over cabbage. Sprinkle each wedge with salt and pepper. Top each wedge with half slice of bacon. 
4. Bake with the pan covered with foil for 30 minutes. Remove the foil, bake another 30 minutes or until cabbage is tender and starting to turn golden brown (check to make sure it is not burning). Sprinkle a little salt on each wedge. Serve immediately.

Tequila Slaw

This is the perfect summer BBQ slaw and it is often requested by my family. They just love it! It is perfect with a burger, hot dogs, or ribs, you name it. There is a small amount of tequila in it, which really adds an interesting “something something” to this delicious coleslaw.

Since there is tequila in this slaw, a little lime juice really makes this recipe come alive. While you can buy a bag of coleslaw mix, I prefer to shred the cabbage and grate the carrots myself. I usually use about 2 or 3 medium carrots.

Toss all the vegetables together before adding the dressing.

The dressing is really easy – just whisk together. The original recipe called for 1/4 cup of mayo, but I use 1/2 cup. It also called for 1/4 teaspoon salt, but I feel it needs more like 1/2 teaspoon salt. Taste to see how you prefer it. I like to add the dressing just before serving.

After adding the dressing, mix well. It is really a pretty slaw with the cabbage and then the colors of the carrots and cilantro.

Ready to serve! So good with a hamburger and corn on the cob. Look for another post on how I make my hamburgers.

Tequila Slaw

  • ¼ cup mayonnaise, I use more like 1/2 cup
  • 3 tablespoons fresh lime juice
  • 1 tablespoon silver tequila
  • 2 teaspoons sugar – leave out or use a sugar substitute for low carb
  • ¼ teaspoon kosher salt, I use about 1/2 teaspoon
  • freshly cracked black pepper, to taste
  •  cup thinly sliced green onions
  • ¼ cup chopped fresh cilantro
  • 14 ounces packaged coleslaw (I usually shred my own cabbage and carrots)
  1. In a medium bowl, combine the first 6 ingredients with a whisk. Start with the smaller amounts of mayo and salt. Taste to decide if you would prefer more of either or both.
  2. In a large bowl, combine the last 3 ingredients and mix well.
  3. When ready to serve, add the dressing to the vegetables and mix well.

Bran Muffins

As promised in my Bermuda Salad blog, here is the recipe for Bran Muffins. These are not your typical bran muffins – which are often dry and tasteless. These are flavorful, moist and so yummy. They are easy to make and freeze well. Plus, the batter can be kept in the fridge for up to 2 weeks, so fresh, warm muffins can be baked any time!

They are made with just a few common ingredients.

No need to get out the big stand mixer for these. They are made with a bowl and spoon. This recipe makes about 4 dozen muffins. Obviously, it can be halved if you want.

I do weigh the bran flakes since the recipe calls for 10 ounces.

I just crush the bran flakes with my hands, but they can be put in a baggie and crushed with a rolling pin or what ever you have. They don’t need to be pulverized into powder, just crushed fairly fine.

Mix the dry ingredients together.
Mix the wet ingredients together until all the oil is incorporated.
Make a well in the dry ingredients, then add the wet.
Mix until just incorporated. It will look a little lumpy.
Fill muffin cups with about 1/4 cup of batter

I prefer to use paper cupcake liners instead of greasing the muffin tin. There is less clean up and they look pretty.

Bake until light golden brown.

And done! These are great for breakfast, and with salads and soups. They are excellent with a cup of coffee or tea. Plus, these muffins are a great way to get a little extra fiber in your diet.

Bran Muffins with Bermuda Salad (see previous blog for that recipe).

Sometimes I just keep the batter in the fridge, for up to 2 weeks, but sometimes I make them all at once. They freeze really well, and I thaw on low in the microwave, wrapped in a paper towel. Hope you will give them a try!

Bran Muffins

Makes about 4 dozen muffins.

  • 10 ounces flakes, crushed
  • 5 cups flour
  • 3 cups sugar
  • 5 teaspoons baking soda
  • 2 teaspoons salt
  • 4 whole eggs, slightly beaten
  • 1 quart nonfat buttermilk
  • 1 cup vegetable oil
1. Preheat oven to 400 degrees. Place cupcake liners in a muffin tin. 
2. Mix dry ingredients in a very large bowl.
3. Beat eggs slightly in a medium size bowl, then add rest of wet ingredients. Mix well until oil is incorporated.
4. Make a well in the dry ingredients and pour in the wet; mix only until moistened. Batter will appear slightly lumpy.
5. Fill muffin cups with about 1/4 cup of batter.
6. Bake at 400 for 15 to 20 minutes, until light golden brown.

Parmesan Scones

Autumn Soup with Parmesan Scones

As promised in the Autumn Soup blog, here is the recipe for the Parmesan Scones. Actually, these are more like biscuits that are shaped like a scones. Nevertheless, they are delicious, and almost as importantly, they are easy. Just a few common ingredients come together to make a savory side that is especially great with salads, soups and stews. The combination of onions and Parmesan really ramp up the flavor. The recipe is at the bottom of the page.

After sautéing some onions, it is just a matter of mixing and forming the scones.
I like to form the dough into 2 smaller discs, to make smaller scones. Be sure to cut them into triangle shapes, but don’t pull them apart. I like to use parchment instead of greasing the pan.
Brush the scones with the remaining heavy cream. This will help them to brown.
Sprinkle with remaining Parmesan after brushing with heavy cream.
Once baked, cut them completely apart for serving.

Parmesan Scones

  • 1 tablespoon olive oil
  • 1 medium yellow onion, chopped (3/4 cup)
  •  teaspoon black pepper
  • 1 cup shredded Parmesan cheese , 4 ounces
  • 2 cups Bisquick
  • 1 large egg
  •  cup heavy (whipping) cream
  • tablespoon heavy (whipping) cream
1. Heat oven to 400 degrees F. Coat a baking sheet with nonstick cooking spray ( I prefer to use parchment paper instead).
2. In small skillet, over medium-high heat, heat oil. Add onion; sauté 5 minutes or until translucent. Remove from heat; add black pepper.
3. Set aside 1 tablespoon Parmesan cheese for top. Place remaining Parmesan in large bowl with biscuit baking mix. In small bowl, with fork, beat egg with 1/3 cup heavy cream until blended. Stir onion and egg mixtures into dry mixture until soft dough forms.
4. Knead 10 times; shape into a ball. Place on prepared baking sheet; pat into 8-inch round. Cut into 8 wedges but do not separate. I sometimes make 2 4-inch rounds, cut each of them into 6, making 12 smaller scones. Brush top with remaining 1 tablespoon heavy cream; sprinkle with reserved Parmesan cheese.
5. Bake at 400 degrees for 15 minutes or until golden. Cut through wedges; separate. Serve warm or at room temperature. .